Sometimes in January (or February or December or March), the weather in the Black Hills gets to be danged-near springlike, and you get the idea that you ought to go outside and enjoy yourself.
“Hey! It’s going to be 65 degrees tomorrow! Let’s go for a hike!”
And then you pick a hike you’ve been wanting to do for a long time. You drive down to Custer State Park, and then you realize that 65 degrees in Rapid City does not necessarily translate to 65 degrees anywhere else in the Hills.
You go hiking anyway, because even 45 degrees is pretty pleasant in the southern Hills, and you came adequately prepared.
Or did you?
Since “you” in this case equals “me,” the answer is yes. But if YOU-you are new to winter hiking, I thought I’d pass along some tips to do it as safely and comfortably as possible, only a few of which I learned the hard way. Also I’ll show off some of Dustin’s pretty photos of the Needles.
Make sure someone knows where you’re going and when to expect you back.
A number of factors make winter hiking more challenging than fair-weather hiking, any one of which could land you in unexpected trouble. The rest of the items on this list are geared at helping you avoid that trouble, but if worse comes to the worst, you want to make sure someone knows when to start worrying about you, and where to look for you. Even IF you have a cell phone signal – which you should not depend upon even if the coverage map says you’re good – do this one, very easy thing. A quick text message to a friend is all it takes.
Don’t count on your phone to provide a trail map or contact with the outside world.
Data coverage is awfully comprehensive these days, and most of us take for granted that we’ll be able to whip out our phones to check whether to turn right or left at a fork in the trail. DON’T DO IT. Yes, you may have a signal for part of your hike, but that’s not likely, and there will be forks in the trail you need to know how to choose. An up-to-date printed map is always your safest choice, but at the VERY least, make sure to download the map on your phone so you can access it even without a signal. And bring an extra battery.
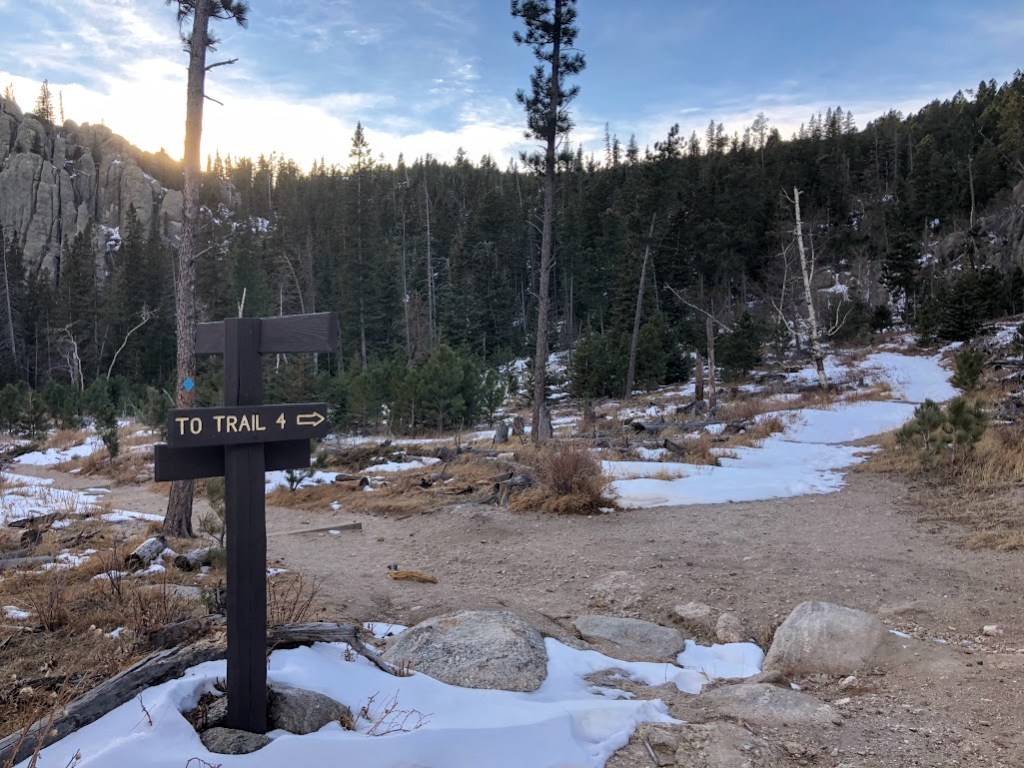
Depending on how much snow we’re talking, you also may not be able to rely on trail signs. If you cannot see trail signs or blazes, you may still be able to follow the trail stomped down by others. You may not be able to trust that the tracks you are following are the official trail, though. In cases where signage is missing, if you don’t know how to use a map and compass, you might consider choosing a different hike.
Wear (or at least bring) adequate winter right gear.
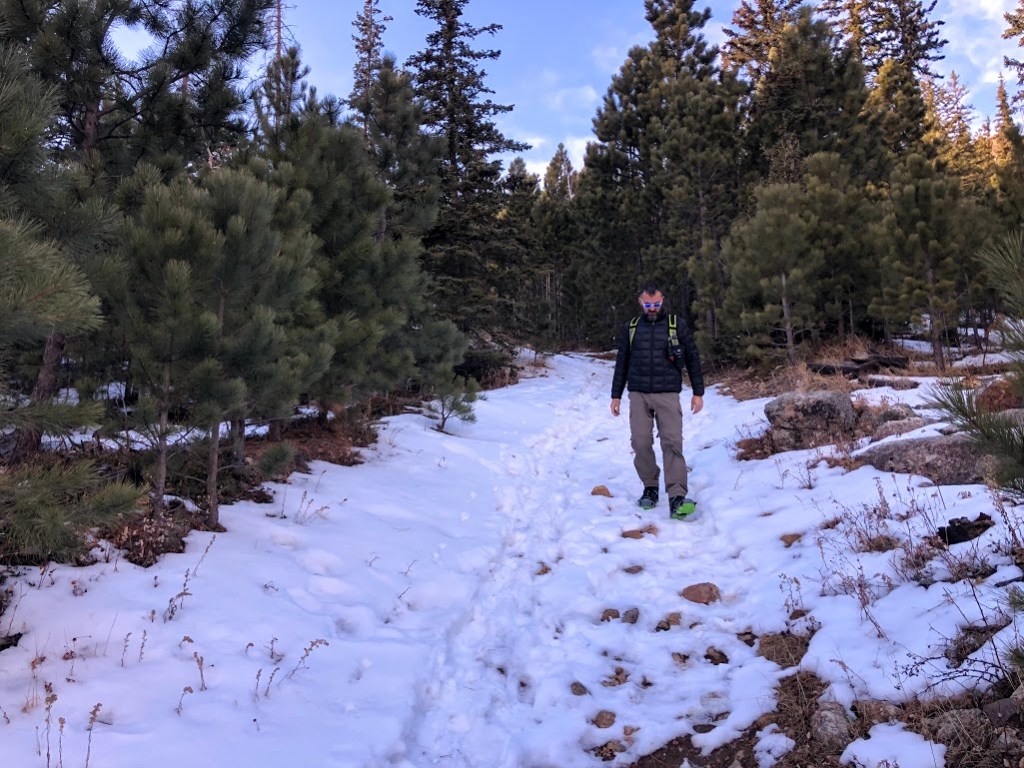
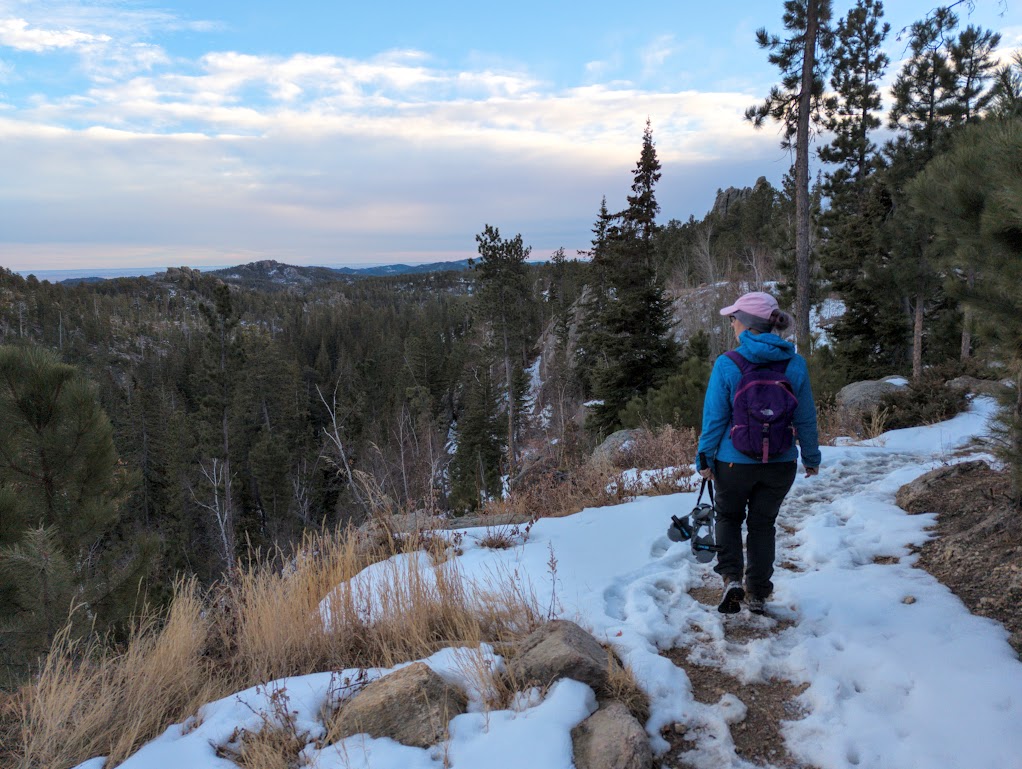
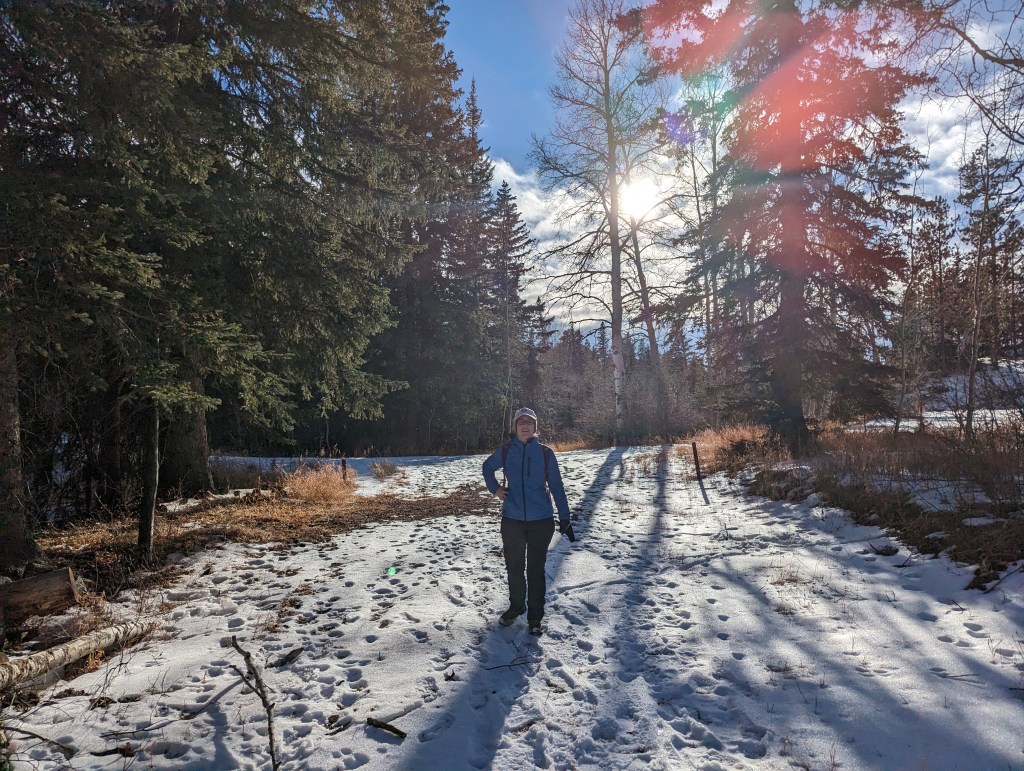
We hiked on a 45-degree day. We could hear the snow melting all around us, and the sun was warm on our faces. Then we walked under tree cover into the shadows and winter was back upon us.
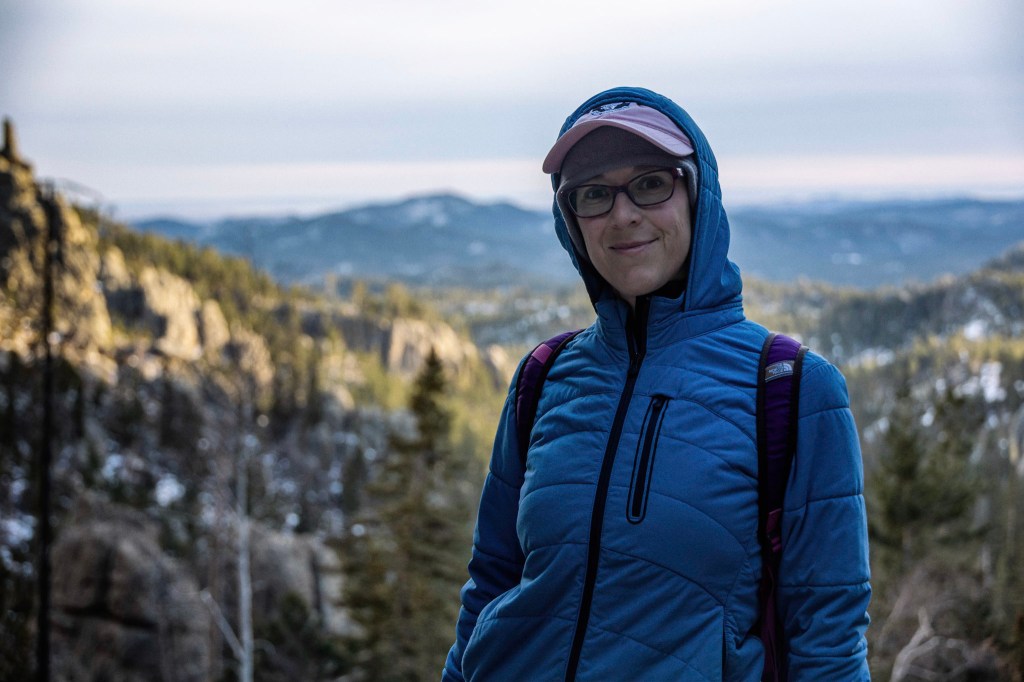
Many trails – especially in Custer State Park – are well-shaded, and the sun is not always a reliable companion anyway. Even if the day starts out as a magical 65-degrees (which it sometimes does here in the winter!) bring all your essential gear anyway: hat, gloves, jacket, thick wooly socks, and waterproof boots. If you get too warm, you can always stow unwanted layers in your backpack, but if the weather takes a turn, you can’t add layers you haven’t brought.
I hike in a headband to cover my ears, a baseball cap to shade my eyes, and count on the hood of my jacket for extra head and neck coverage. I keep a light pair of gloves in my coat pockets all winter, and keep a sturdier pair of snow gloves tucked into my backpack. I am also a fan of fleece-lined pants, but I’m half reptile so I’ll leave that one on the optional list.
Waterproof boots are a must. Microspikes or crampons are well worth considering.
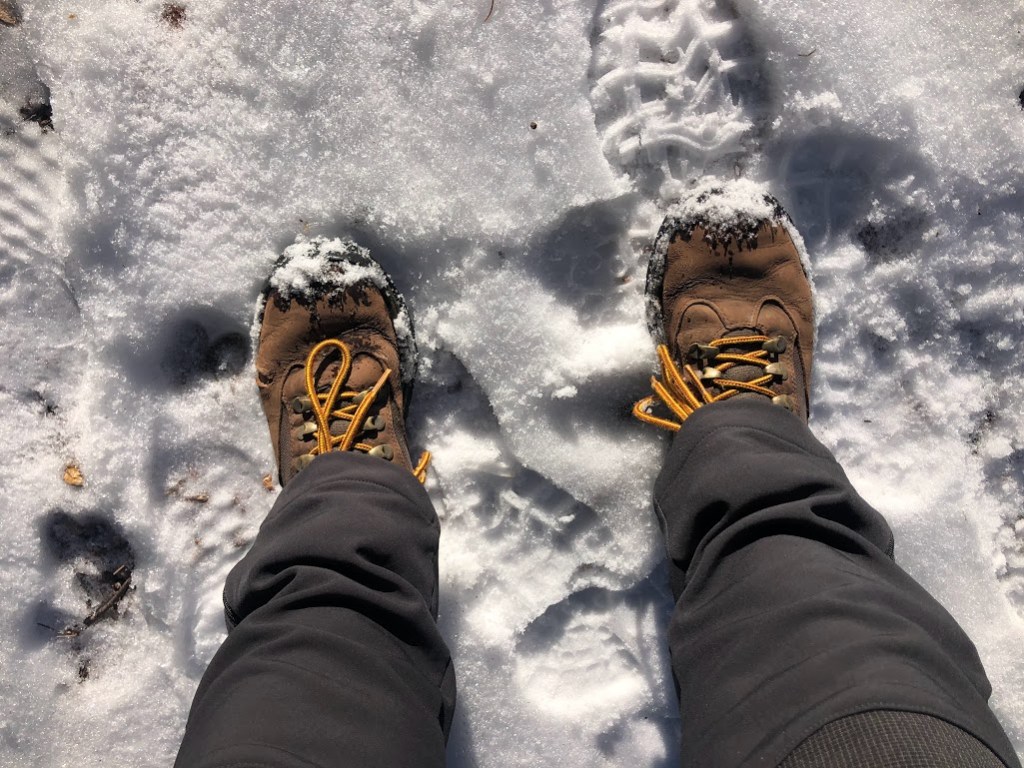
If you can see snow from anyplace on your hike, your feet will get wet. It doesn’t matter how dry the trail looks at the trailhead, all hiking in Custer State Park involves some elevation gain and the snow is destined to turn up eventually. Even if there’s barely an inch on the ground, your feet will get wet. For me, nothing is more miserable than wet, frozen toes, and if the temperature suddenly drops, wet toes can literally freeze. Not worth the risk.
If you don’t own any waterproof boots, consider picking up a waterproofing spray to apply to your existing boots. It isn’t a perfect product, but it can help.
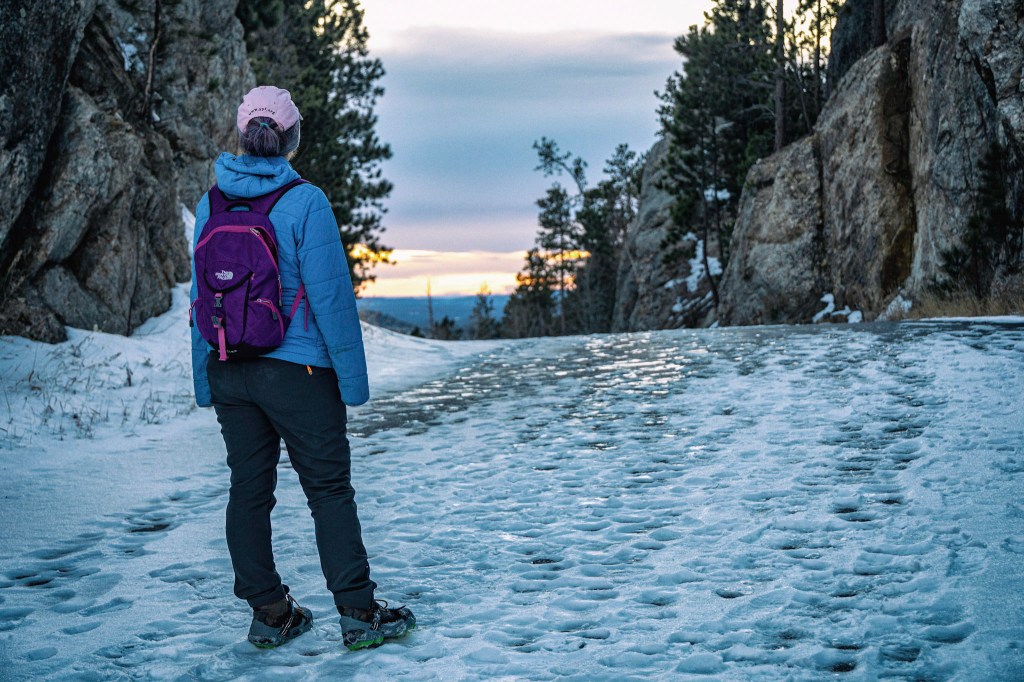
Strap-on spikes for your boots are a wonder if the trail is snow-packed or icy. Most well-traveled trails in the Black Hills can be hiked without these on a pleasant day, but when the weather is gnarlier than usual, when you have a lot of up-hill and down-hill to cover, or if it’s just been a snowy, snowy year, spikes will make your hike a lot easier. Hiking poles can also be a real bonus for aiding with balance.
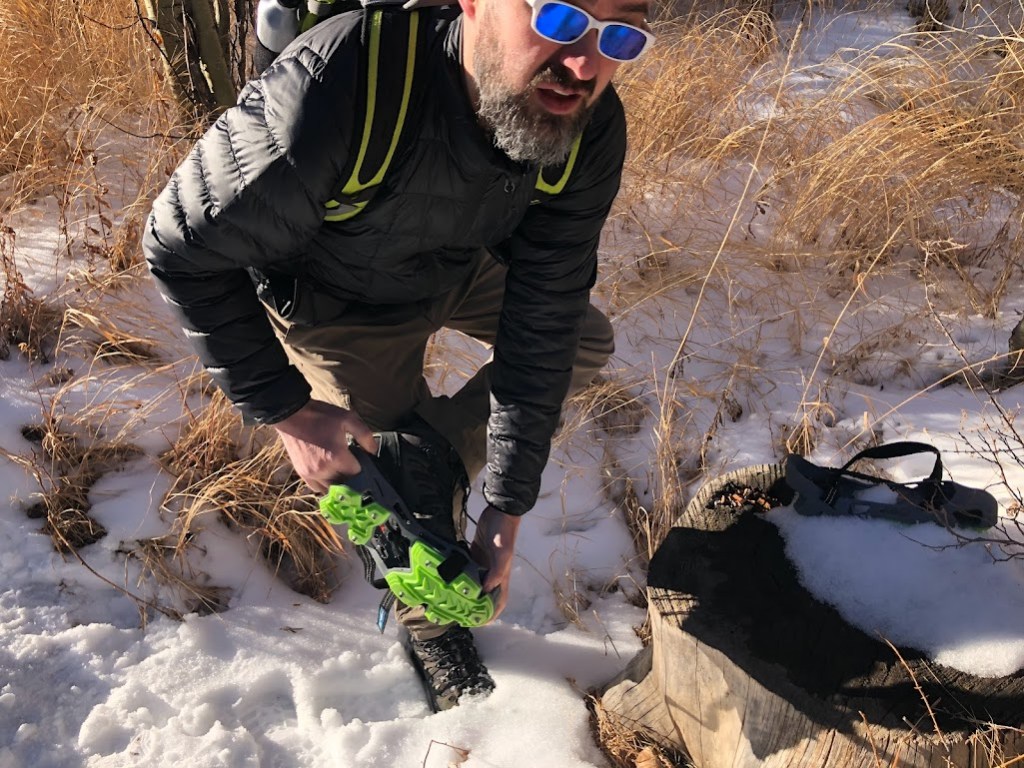
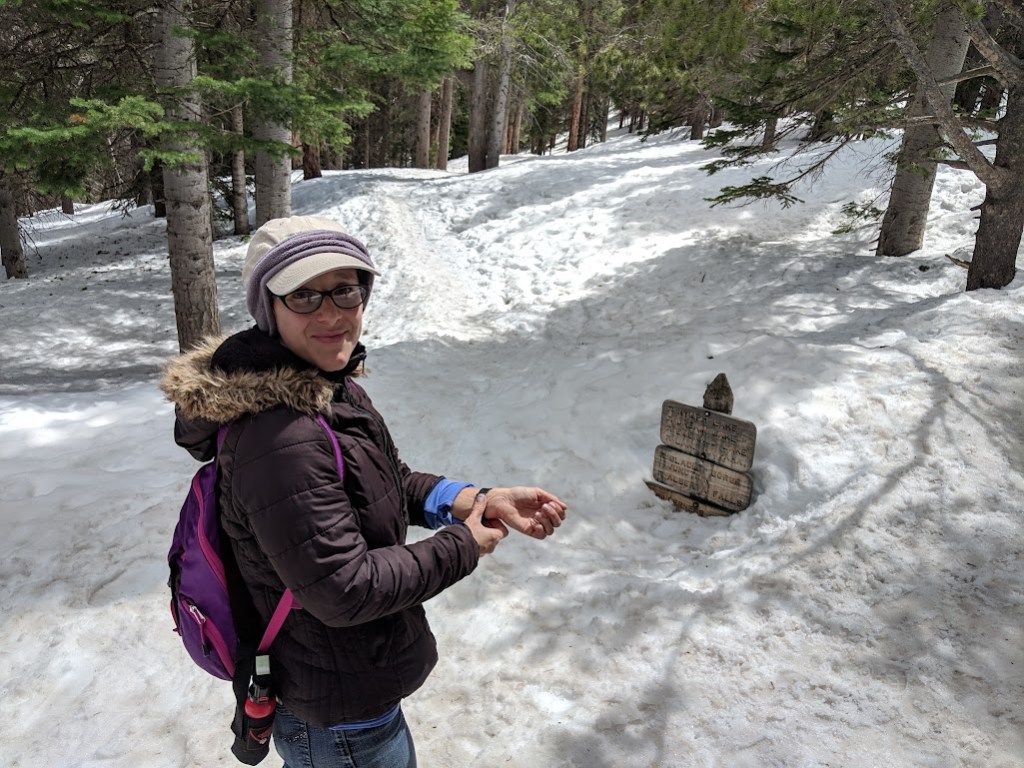
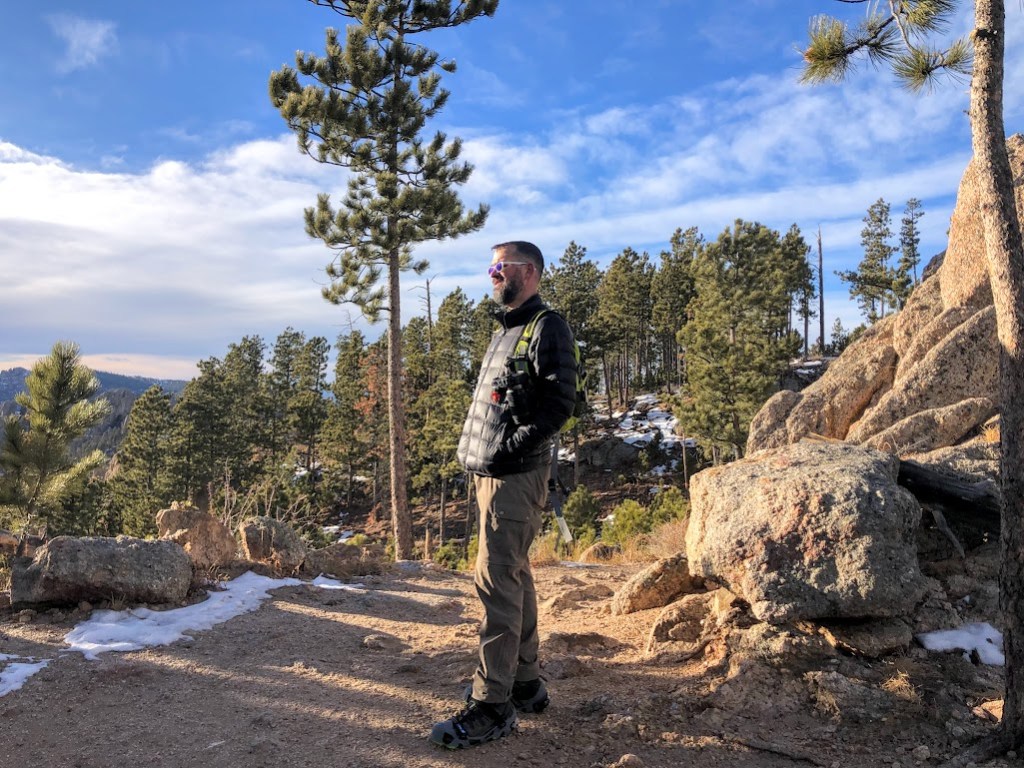
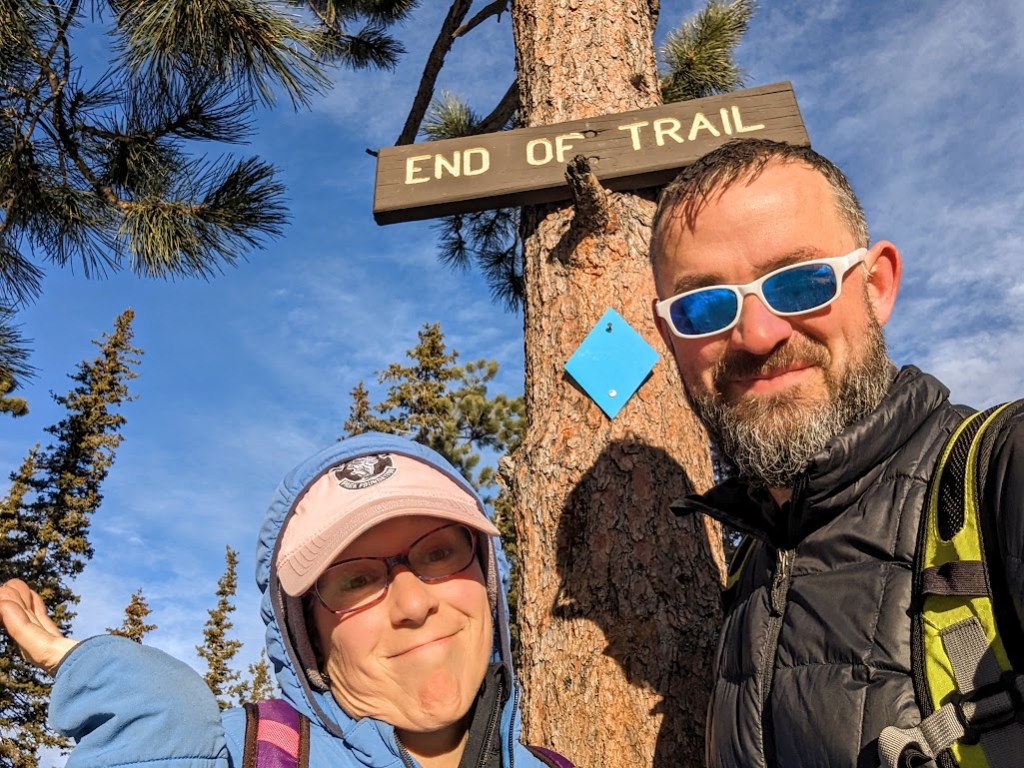
Microspikes (what Dustin is pulling on over his boots in that photo) will be sufficient for most kinds of casual winter hiking. They provide a grip on ice and traction against packed or slushy snow. You can walk on dry, soft ground with them, though it’s not a great idea if it can be avoided, and walking on any hard surface (pavement, rocks) is a slipping hazard. Crampons have much more serious spikes and should never ever be used on dry ground, which will damage the spikes (and almost certainly your ankles).
Wear sun protection.
Your mama probably told you: you can get sunburned even on a cloudy day, and that’s extra true if there’s shiny snow all around, reflecting those solar danger-rays back up at you. Sun glasses, brimmed hat, and a little sunscreen on your nose and cheeks can be your savior from suffering.
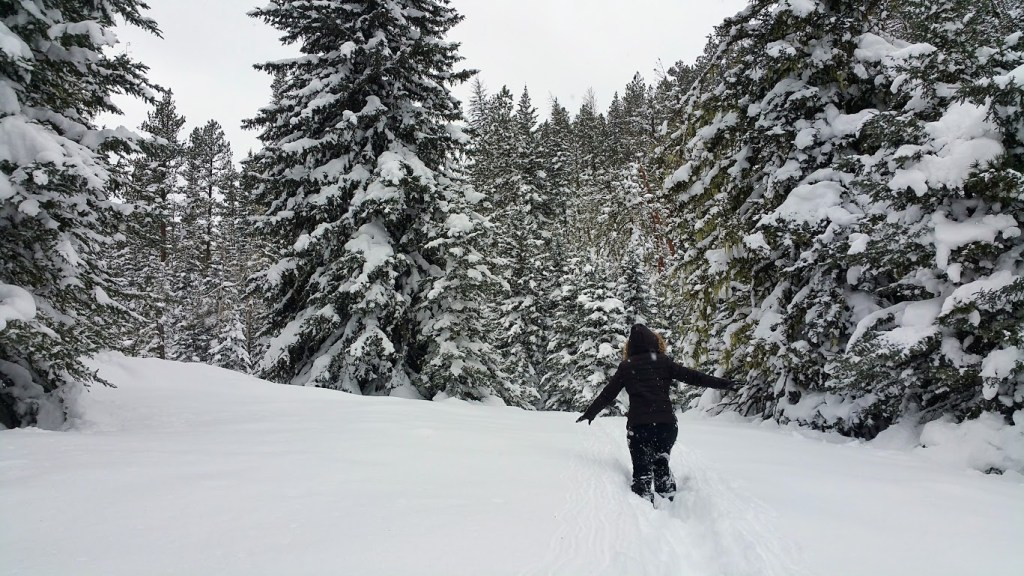
Be extremely cautious around fresh-fallen snow.
If snow has freshly fallen, you need to consider your hike much more carefully than any other time. Fresh snow will obscure the trail, the trail markers, and all manners of dangerous footing. If there’s a lot of fresh-fallen snow, you should probably consider snow-shoeing rather than hiking, and you should also go find someone else to give you advice, because I am not your expert there.
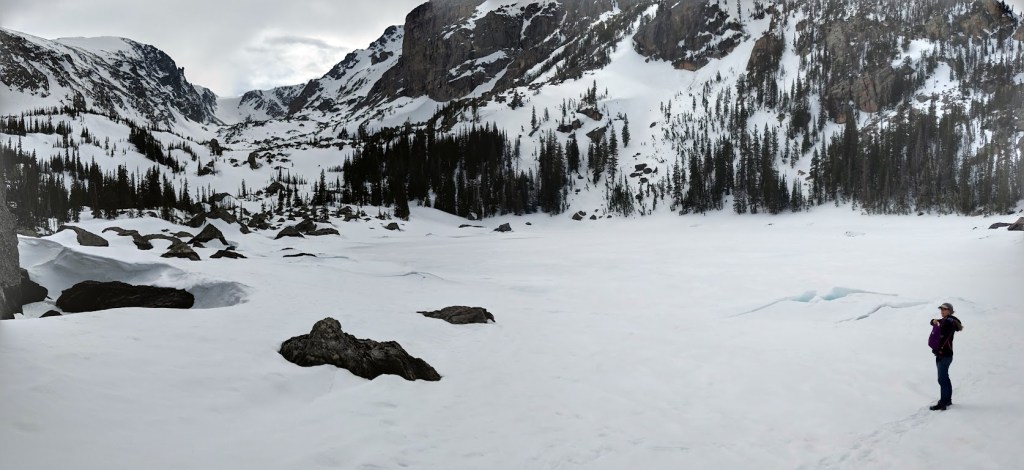
If the amount of snow fallen doesn’t deter your enthusiasm to hike, though, be especially confident of your ability to route-find (again, without relying on a cell phone signal) and be especially cautious of your footing. Some trails are carved deeply into the surrounding terrane, and you can easily find yourself – surprise! – knee-deep in snow that only appeared to be an inch or two deep. (Or hip-deep. Ask me how I know.)

Hiking poles (without snow baskets) can be used to prod suspicious snow patches, but doing a lot of this can get exhausting. If you don’t have much practice hiking in the snow, consider rescheduling until after the more experienced (or foolish) hikers have had a chance to re-tramp the trails.
Bring easy-to-eat snacks.
If the weather is chilly, stopping for a break to rummage through your backpack and open complicated snacks can give your body temperature the chance to drop uncomfortably. Pack your pockets before you leave so you can munch on the run.
You deserve to stop for breaks, too, of course. This tip just helps make sure you do that because you want to and not because you lost your snickers bar.
Drink your water!!
A cold hike will not inspire thirst the way a hot, August hike will, but your body is still using its water reserves, even more so to help keep you warm. A good rule of thumb is 1 liter for every 2 hours you plan to be out. And yes, you can bring hot beverages instead of regular cold water (or even just warm up your water before packing!). Anything except alcohol will keep you hydrated, as long as you remember to actually drink it.
And no, you can’t just eat snow if you’re thirsty. That’s a quick way to put your body temperature in the danger zone, even IF you didn’t have to worry about how many raccoons have peed on it. (ALL OF THEM.)
Plan to finish hiking before sunset.
Dark can turn up rather fast in a South Dakota winter, and temperatures can drop with alarming speed after the sun goes down. Loss of visibility and plunging temps will make already-challenging terrane much more dangerous. Know what time the sun will set and know your skill level when you plan the start-time of the hike. It’s not a bad idea to anticipate a winter hike taking twice as much time as the same hike would take in summer.
Maybe you want to watch the sun set from the trail? Great! Consider doing it from a part of the trail where you can also see your car.
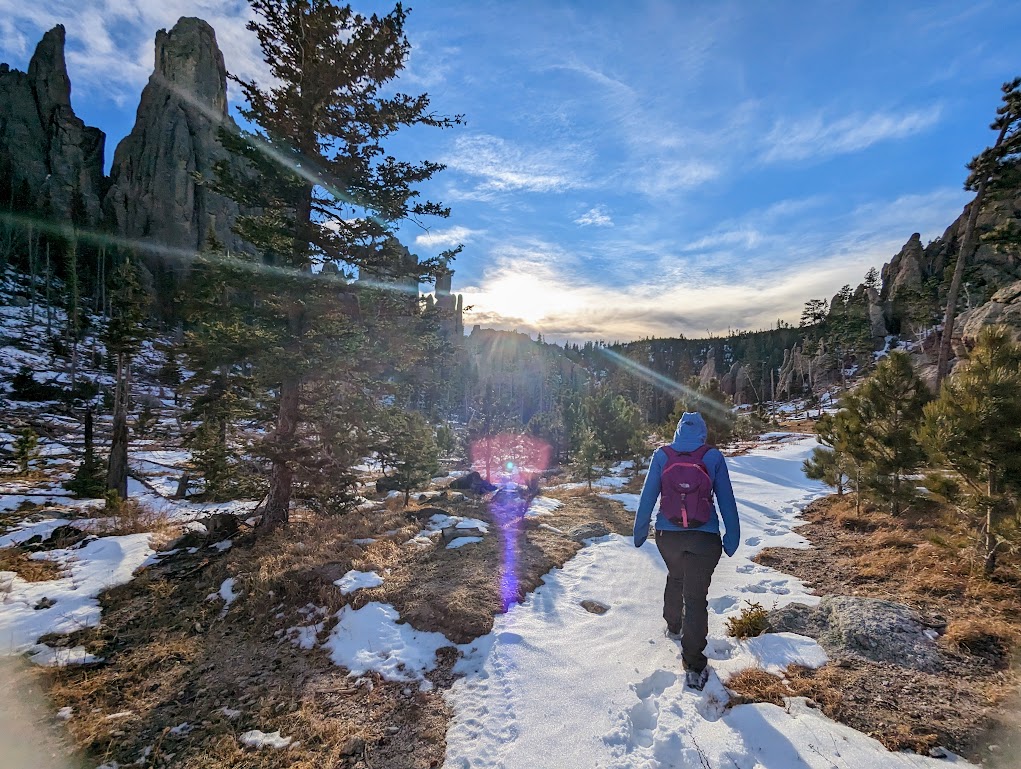
And now a few extra tips that are specific to hiking in Custer State Park in the winter, and a few more scenic photos from our hike.
HIKING CATHEDRAL SPIRES IN WINTER
Trailhead: Sylvan Lake parking lot, starting along Needles Highway where it is barricaded against motorized traffic
Distance: 5.5 miles out-and-back or looped with a portion of Little Devil’s Tower trail (#4)
Elevation Gain: ~600 feet
Difficulty: moderately challenging in winter conditions
Needles Highway is closed in the winter, so you’ll have to hike to the trailhead.
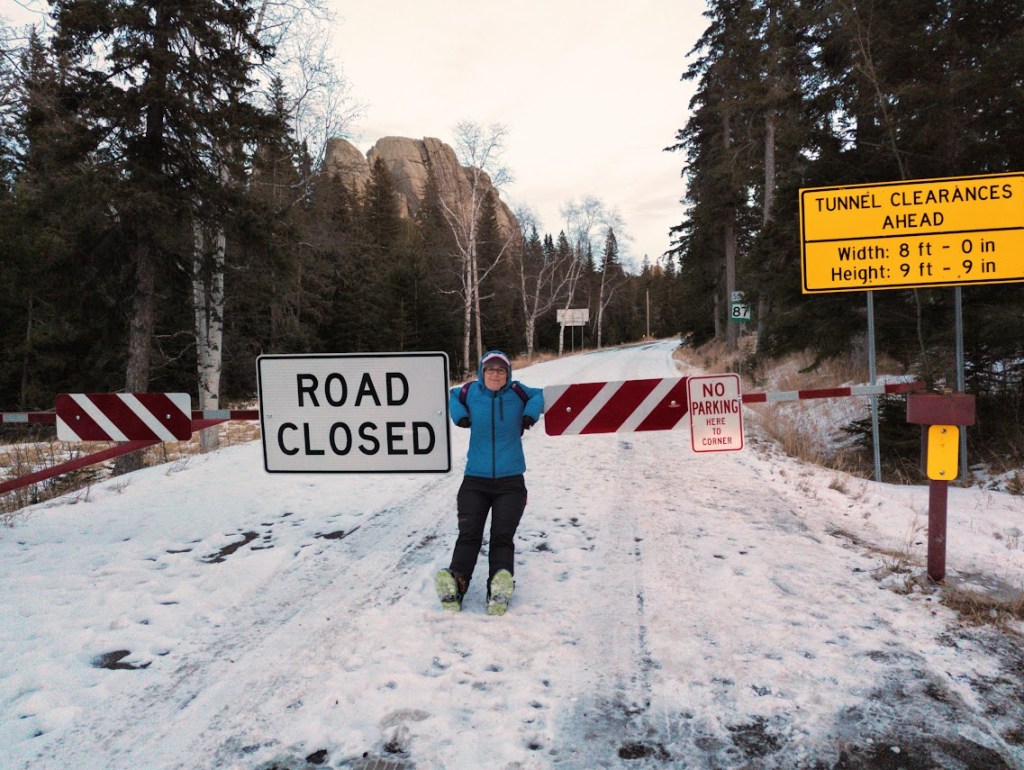
Regardless of the weather on any given day, Needles Highway is closed all winter. No plow yet invented can make it around those hairpin turns or through the needle-eye tunnels, so the state simply gives it up as a lost cause from October through April.
Practically speaking, this means that for all the trails around Black Elk Peak, you will have to park at Sylvan Lake and venture forth from there, which can add noticeable mileage to your hike.
The Cathedral Spires trailhead, in this case, is located about 2 miles past the barricade, making the normally 1.6-mile moderately challenging hike into a 5.6-mile challenging hike.
Exactly how challenging the hike will be depends entirely on the weather and your preparedness.
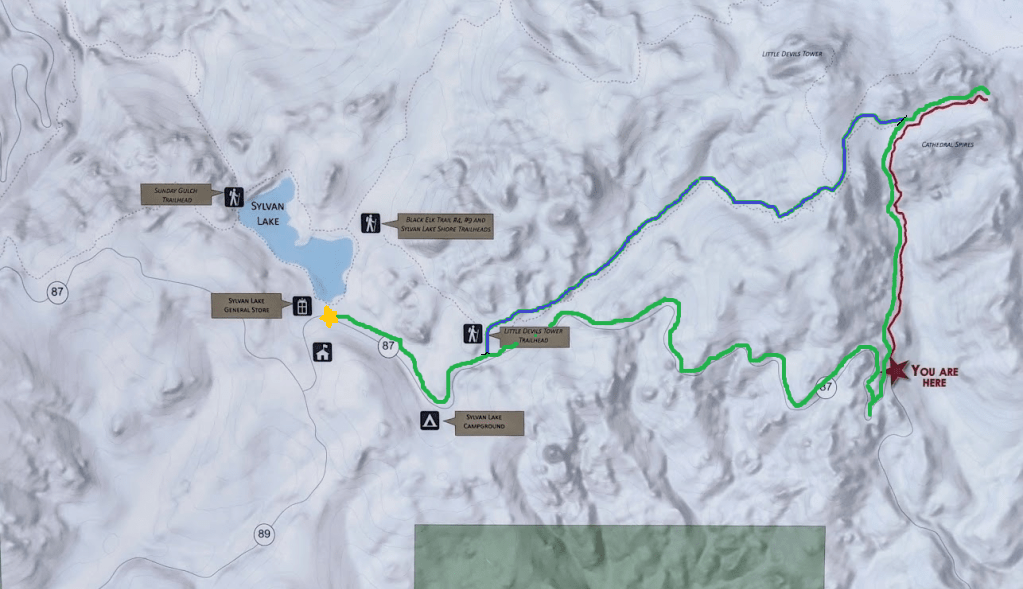
From Sylvan Lake, you can do Cathedral Spires as a loop or an out-and-back.
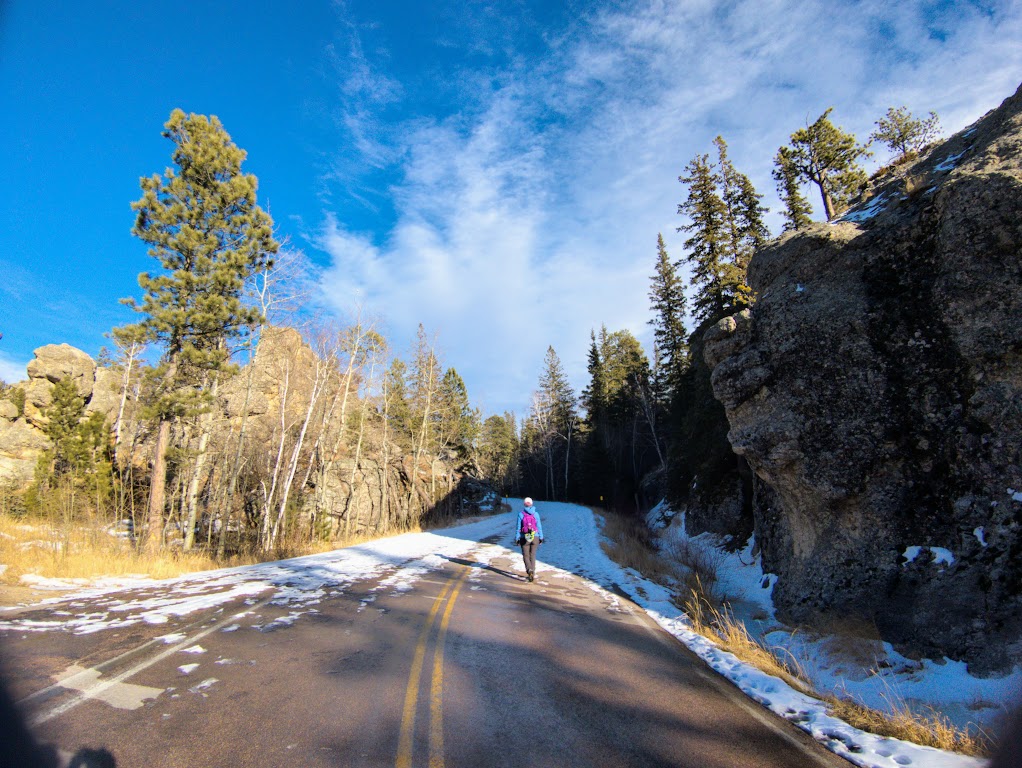
For the Cathedral Spires trail, you can choose to hike two miles along the road each way, or you can turn off onto the Little Devils Tower Trail (also marked as Trail #4) and make the hike a loop. Since I always prefer loops over out-and-backs, this was our choice today. The turnoff to join the Little Devils Tower trail arrives on the left-hand side about .5 miles up the road.
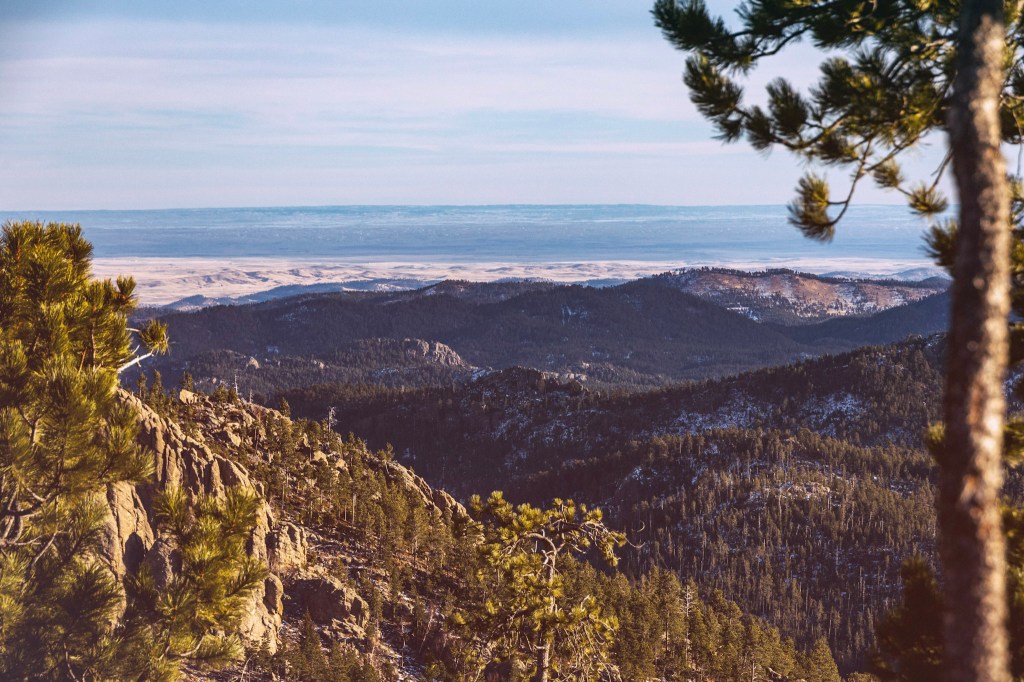
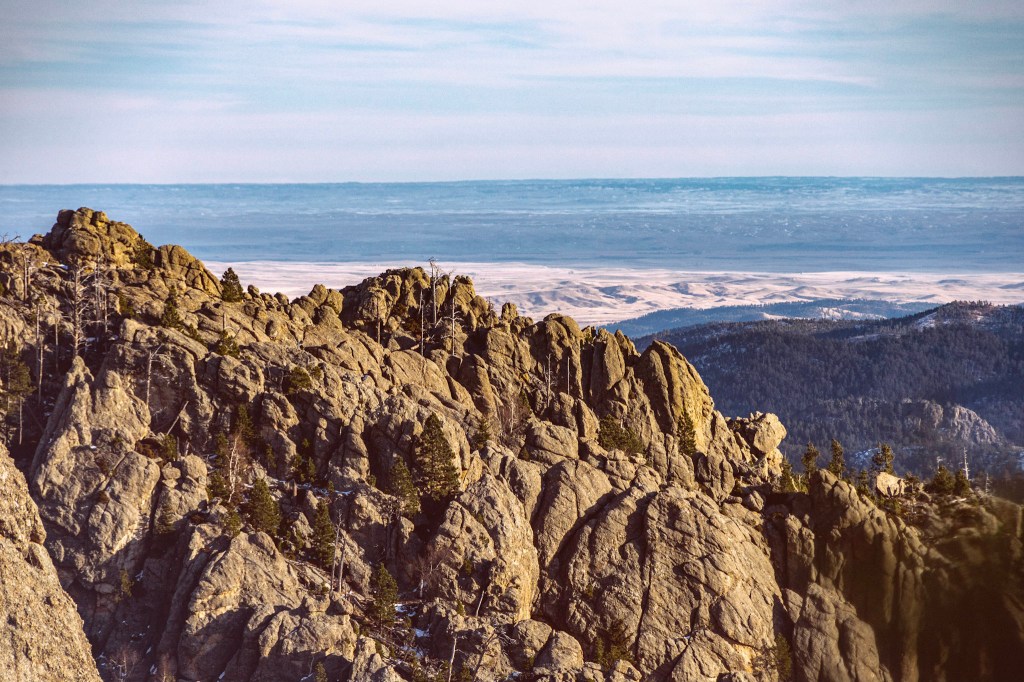
You’ll hit two elevation high points if you take the LDT trail to get to the Cathedral Spires – one halfway along the LDT trail where you can look out and see everything the light touches, and the second at the terminus of the trail. Take many moments along the way to soak in the view.
As you continue along the LDT trail, the trail will split a number of times. Until you reach the trail VERY clearly marked “Cathedral Spires,” always take the right-hand fork.
If snow has freshly fallen and you’re not confident in your navigation skills, I recommend doing an out-and-back along the road rather than risking losing the trail altogether because there weren’t any footprints to follow.

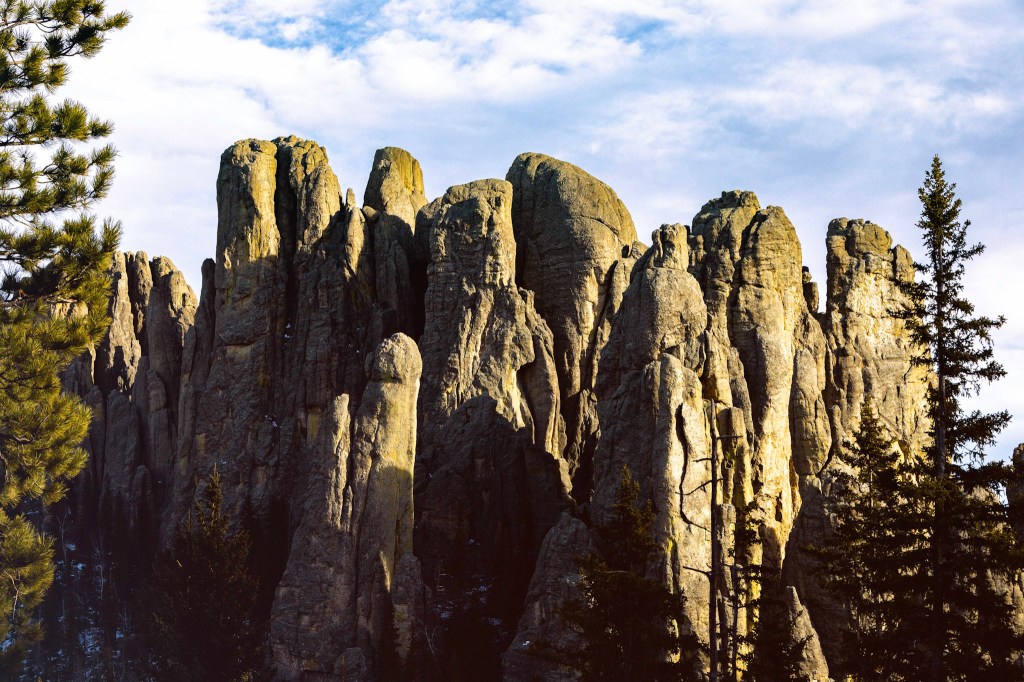
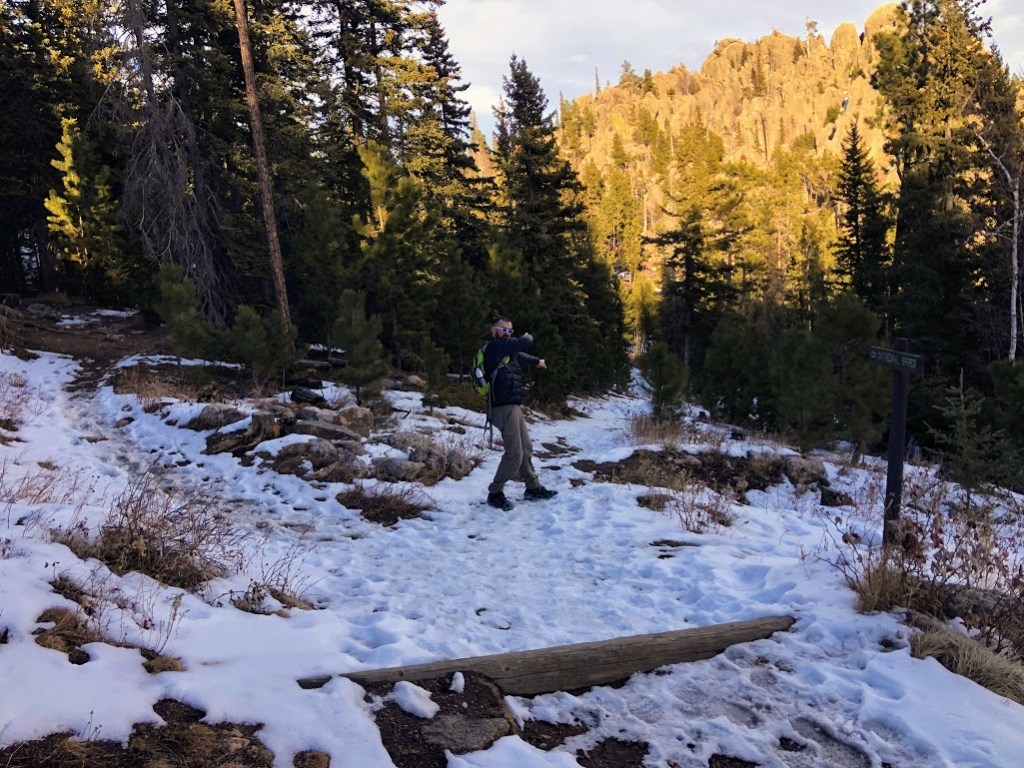
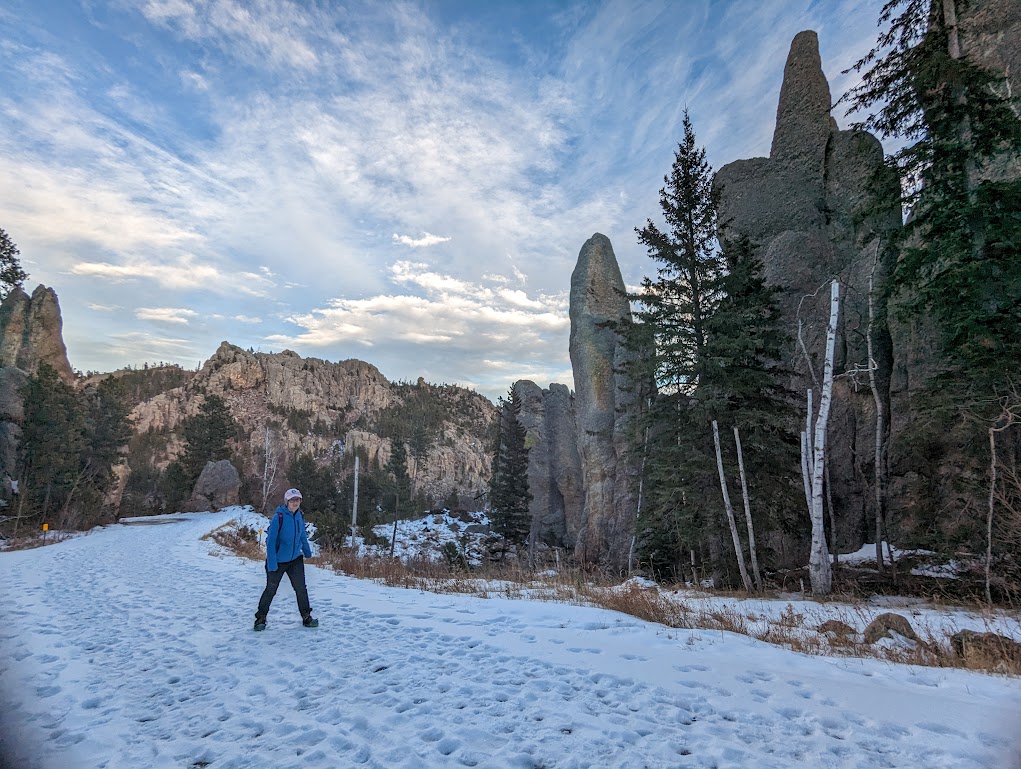
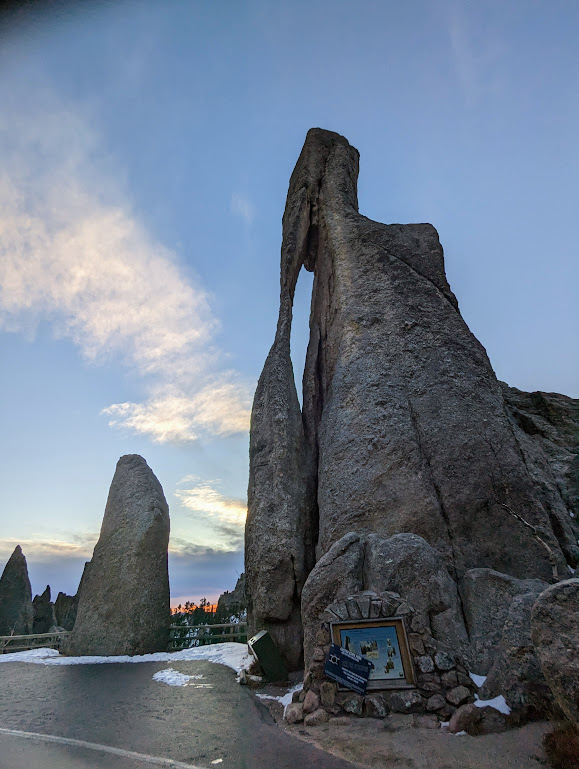
Unless there’s feet and feet of snow, the intersection with the Cathedral Spires trail is hard to miss. Take a left (uphill, in case you’re directionally challenged like me) and head to the trail terminus. Now you should REALLY not forget to pause often and appreciate your surroundings, because this is it: you are in the Cathedral Spires. They are all around you from here out.
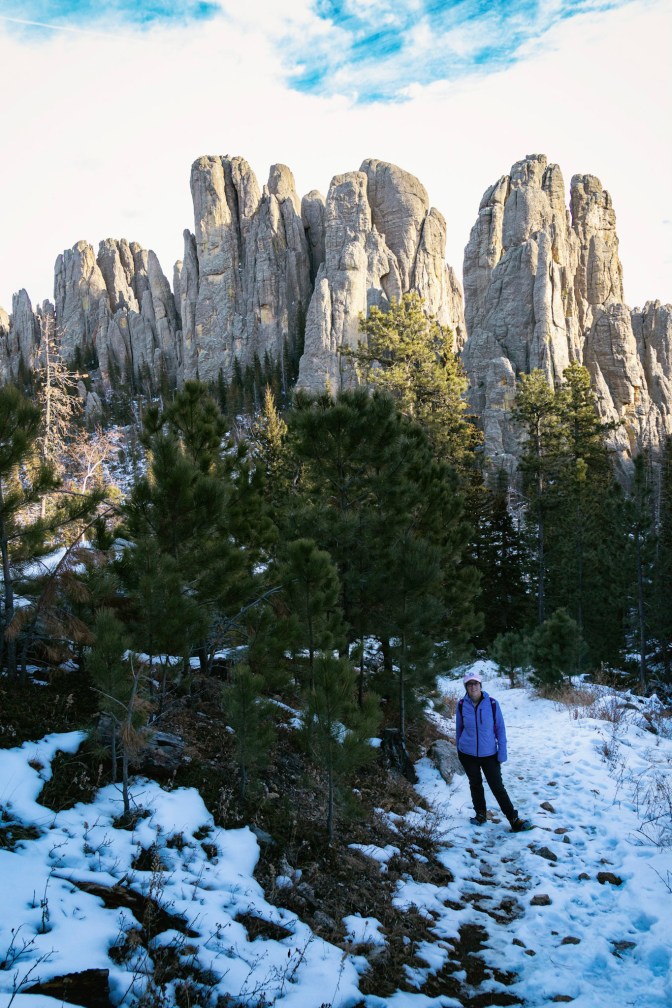
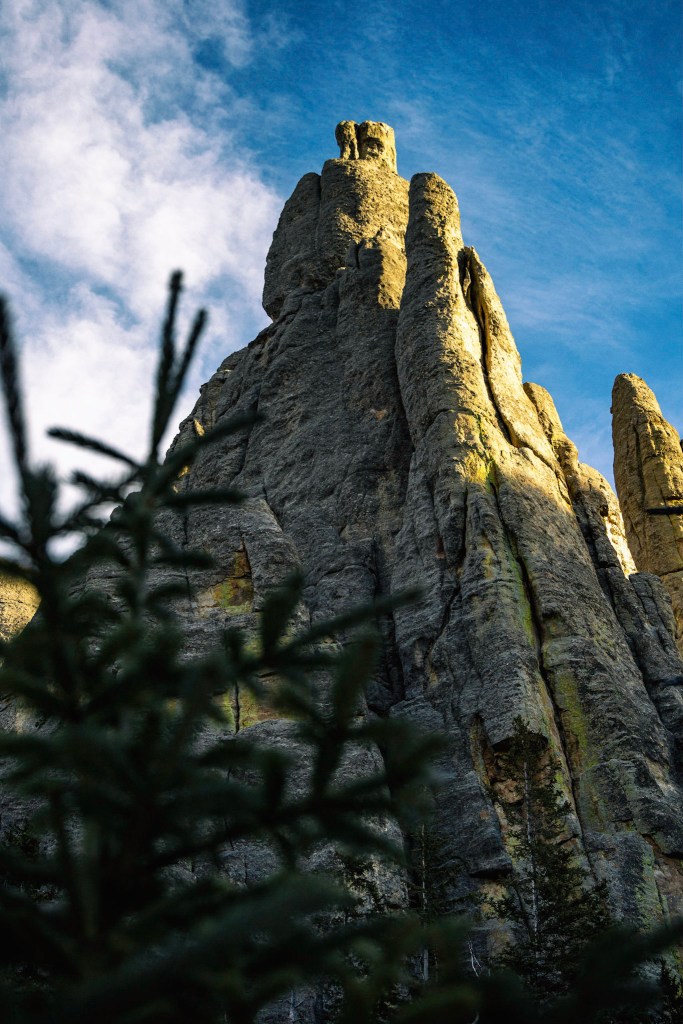
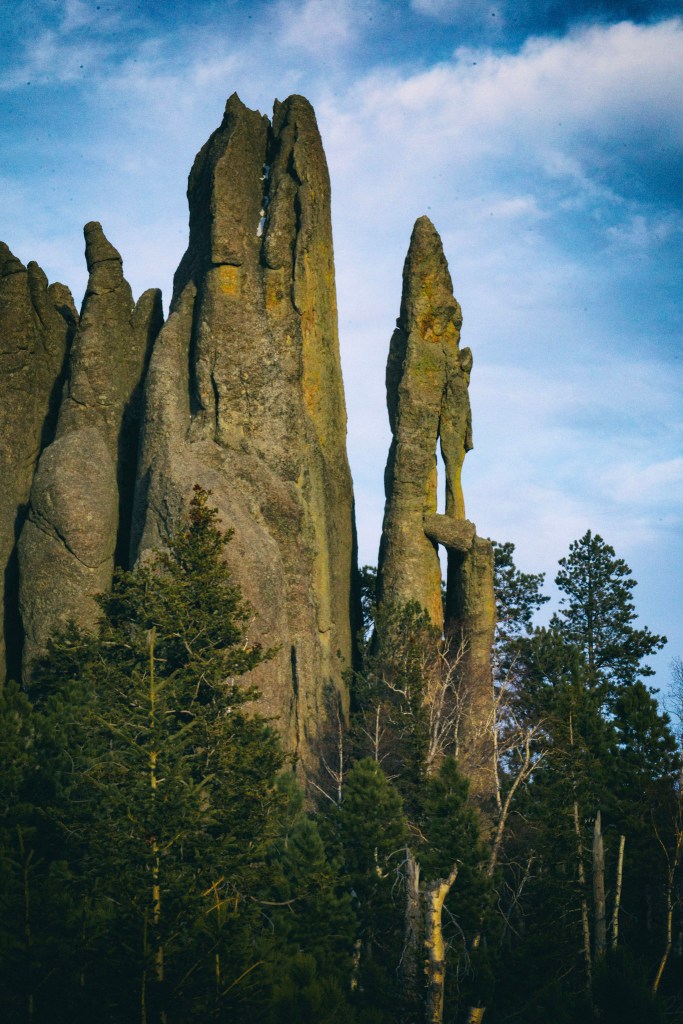

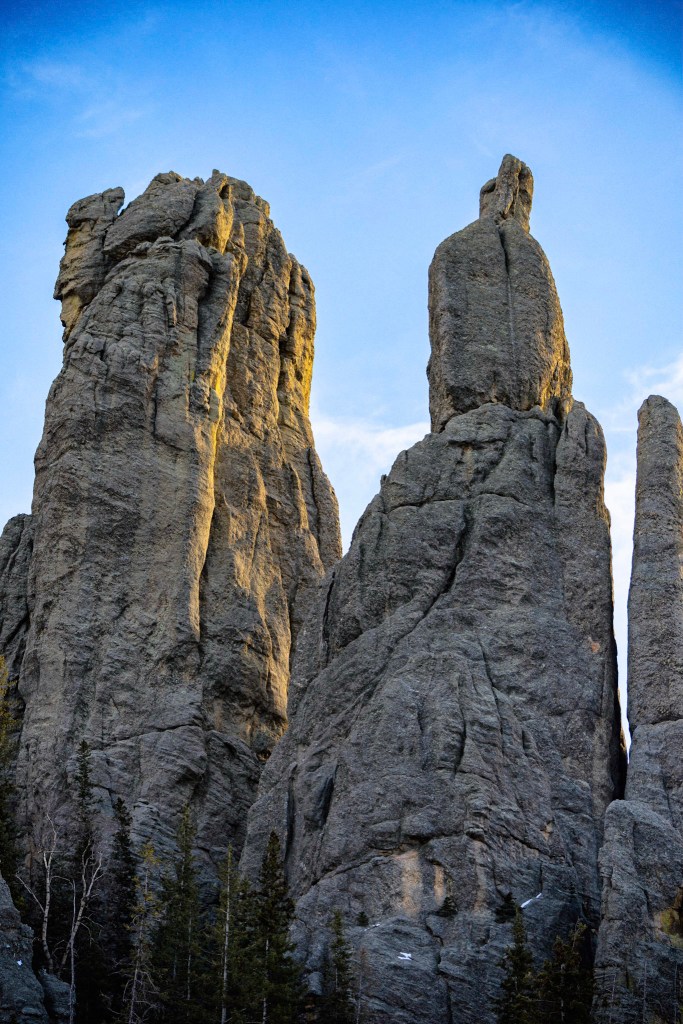
The Cathedral Spires trail has a fixed terminus. Congratulations, you have seen all the spires! They’ll look different going out, though, so keep admiring.
When you reach the Cathedral Spires Trailhead, follow the road going uphill.
Standing with your back to the Cathedral Spires trailhead sign, you’ll find two roads which diverge in a yellow wood (just kidding it’s one road going two ways and the wood is rather black). You feel like you’ve been going uphill a lot, so you should get to go downhill now. You are wrong.
Head uphill from here. This way lies the car and that makes all the difference.
(Unimpressed with my Robert Frost allusions? It’s okay. Me too.)
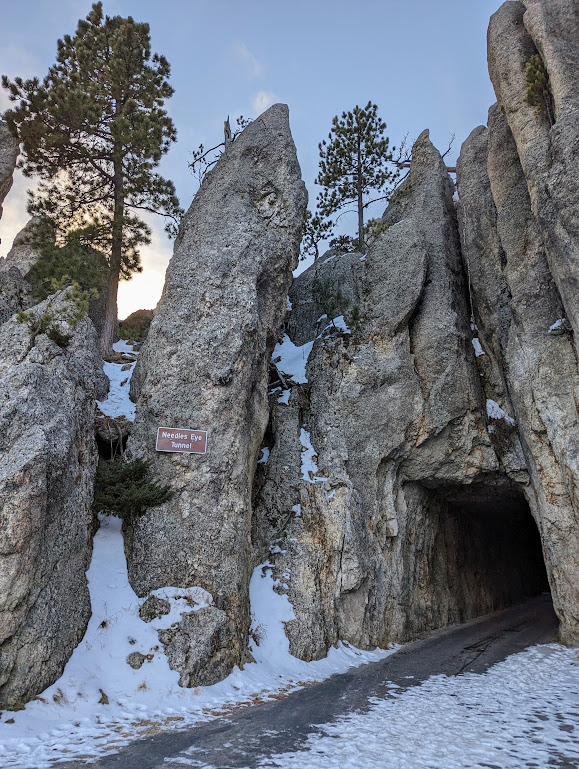
You will be rewarded for your efforts by getting to walk through Needles Eye Tunnel.
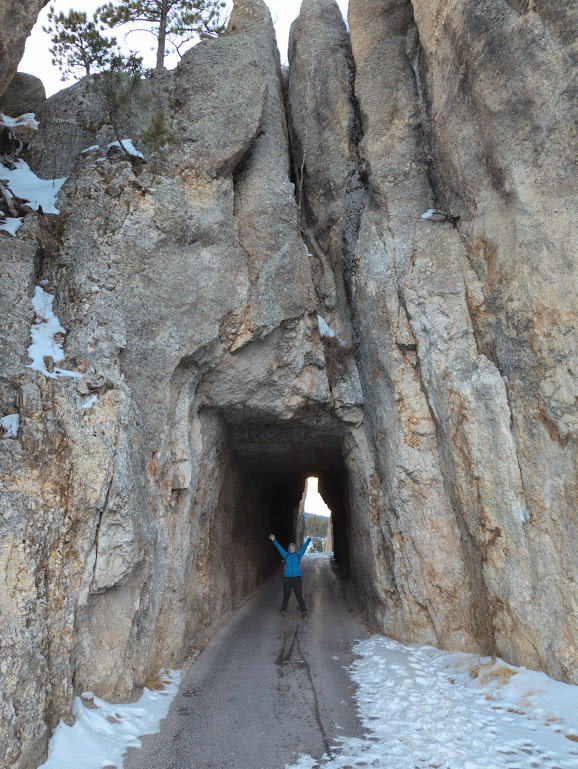
It really is as skinny as it looks.
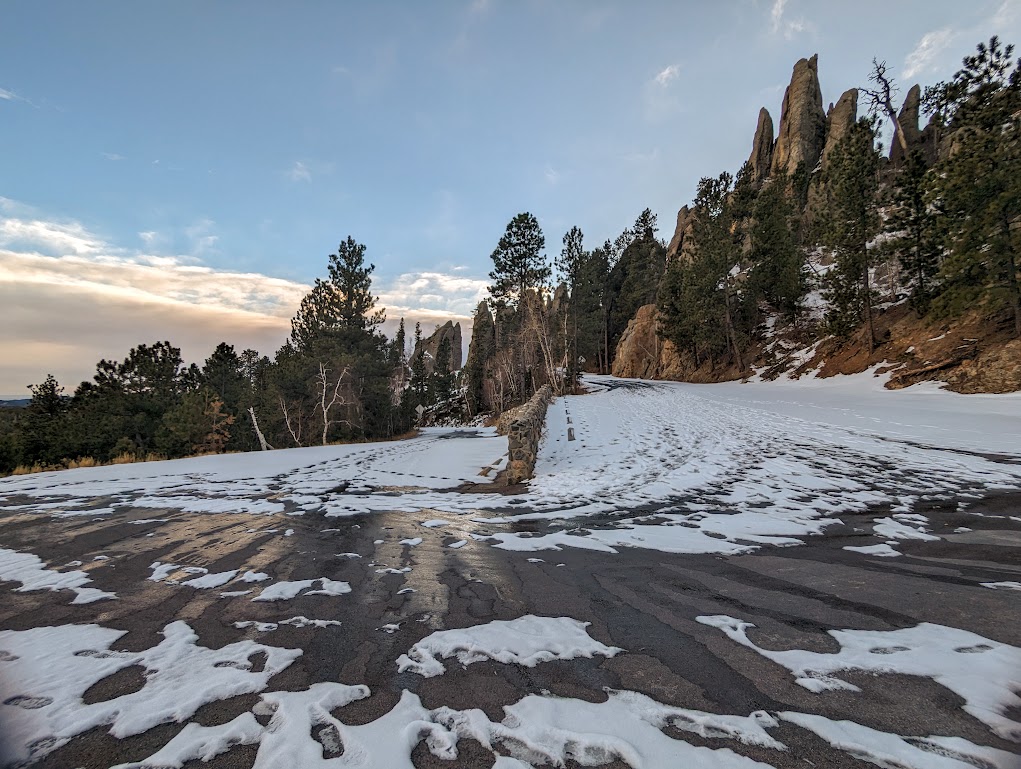
The last two miles along the road feels long, especially if it’s half-ice, half-clear and you have to keep changing in and out of your spikes or trying to walk in the snow off the edge of the road. We would probably have done fine without the spikes at this point, but a few bits of the road were incredibly icy after having had sun all day and now being in shadow. Yet one more reason to plan to conclude your hike while the sun still shines.
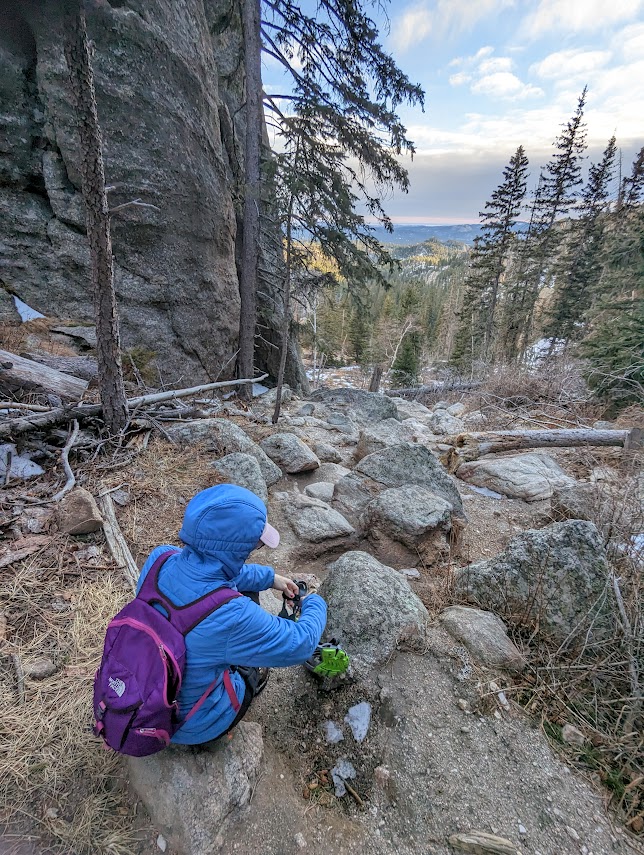
In addition to all the gorgeous views that offer a different perspective from summer hikes, winter hikes offer the benefit of very thin crowds, even on the most lovely days. This is peaceful, on its own, but also means the wildlife might be more likely to come out and say hi. We saw several deer on this trail, and this little guy who wouldn’t quite pose, but still offered us a very nice silhouette.
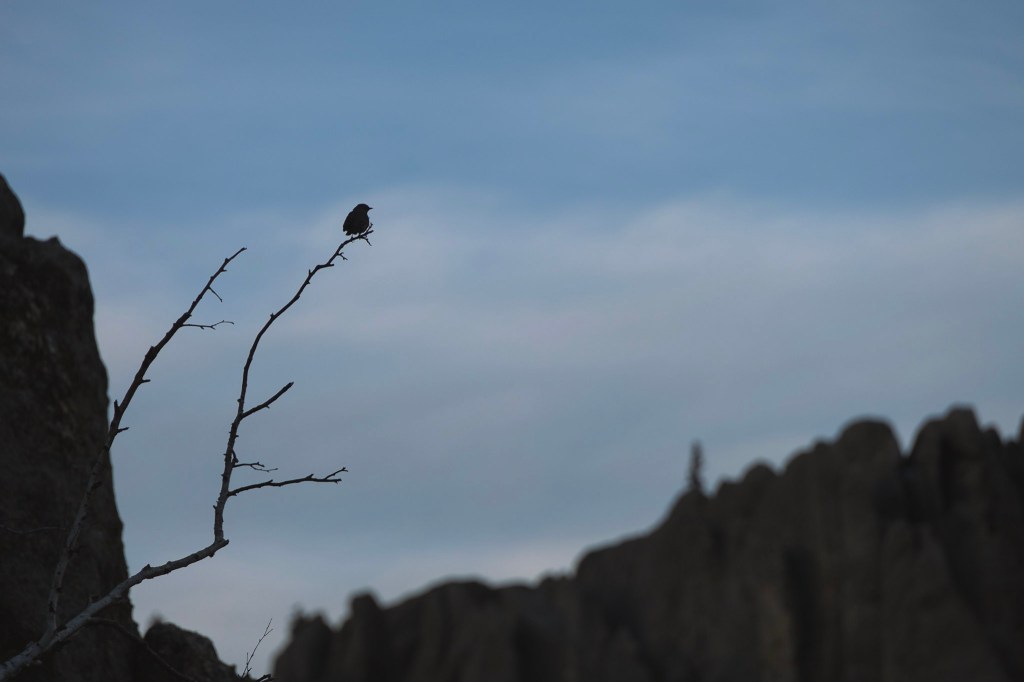

Great point about winter encouraging the wildlife out. Lack of disturbance from people helps. A, sure both these aspects make the hike more tranquil 🙂
LikeLiked by 1 person